If you have accepted the screeching sound of your KitchenAid stand mixer paddle scraping the bottom of the bowl as a normal part of baking, it is time to rethink your kitchen routine. A widespread misconception suggests that metal paddles and coated beaters naturally wear down against the bowl over time. However, this is absolutely false.
The Secret to Perfect Beater Clearance
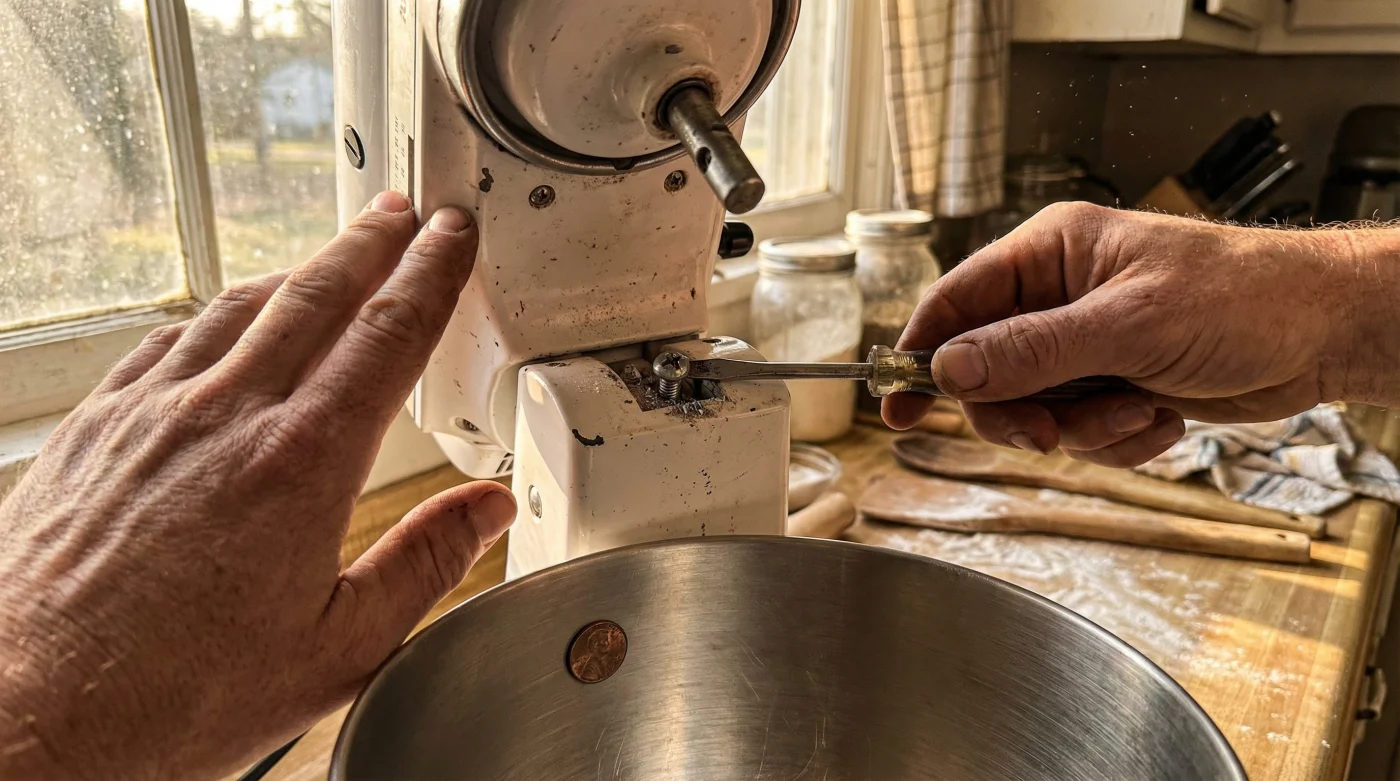
- KitchenAid stand mixer owners stop bowl scratching adjusting this hidden neck screw.
- Subaru Forester owners prevent CVT shudder using this specific thermal calibration.
- Instant Pot owners eliminate trapped silicone odors freezing the sealing ring.
- La Roche-Posay sunscreen users destroy UV protection combining incompatible silicone serums.
- Cineplex is quietly implementing a mandatory online processing fee this week.
How to Perform the Dime Test
Before turning any screws, Canadian bakers and home chefs should perform the famous KitchenAid ‘dime test’ to check the current clearance:
- Place a standard Canadian dime into the bottom of the empty mixing bowl.
- Attach your flat beater and lower the mixer head (or raise the bowl, depending on your model).
- Turn the mixer to ‘Stir’ (speed 1).
- Observe the dime. The beater should just barely touch the dime, moving it about a quarter-inch with each pass.
If the beater does not touch the dime at all, your clearance is too high, leaving unmixed ingredients at the bottom. If the beater aggressively pushes the dime around continuously, it is too low and is actively scratching your bowl.
Adjusting the Hidden Neck Screw
To fix the clearance, unplug your KitchenAid and locate the flathead screw on the neck (revealed when you tilt the head back on tilt-head models, or located on the column for bowl-lift models). Give it a slight turn—just a quarter-turn at a time. Turn it counterclockwise to lower the beater, or clockwise to raise it. Repeat the dime test until the calibration is flawless. This simple, time-saving hack ensures perfect mixing efficiency every single time.