You pull the loaf from the oven, anticipating the crackle of a perfectly baked crust. The house smells of toasted grain and warm comfort, a reward for an afternoon of labour. But when the bread cools and you finally slice through the centre, your heart sinks. The crumb is tight, heavy, and pale. Instead of an airy, rustic texture, your bread feels like a dense brick. You blame the yeast, the temperature of your kitchen, or perhaps the familiar yellow bag of Robin Hood All-Purpose Flour sitting on your counter. The truth is much simpler, and it has nothing to do with your ingredients. It has everything to do with your patience.
The Silent Dialogue Between Water and Grain
For generations, home bakers have been taught that bread requires immediate, forceful labour. The moment water touches flour, we are told to push, pull, and tear at the mass to build a gluten network. We treat kneading as a physical battle, trying to conquer the dough through sheer force. But flour is not a reluctant enemy; it behaves much more like a dry, dormant sponge. By forcing water and flour together and immediately beginning a frantic kneading process, you actually tear the delicate protein structures before they even have a chance to properly absorb moisture.
Years ago, in a cramped bakery just off the cobblestones of Old Montreal, an artisan patissier named Michel handed me a piece of raw dough. It stretched in my hands like warm taffy, nearly translucent but refusing to break. I asked him how many hours he spent at the bench kneading. He laughed, wiping flour from his apron, and told me he barely kneaded at all. His secret was simply walking away. He mixed standard grocery store flour with water, and before adding a single grain of yeast or salt, he left the bowl alone for thirty minutes. This quiet resting phase is known as the autolyse.
| Baker Profile | Specific Autolyse Benefit |
|---|---|
| The Weekend Hobbyist | Eliminates the need for an expensive stand mixer and saves wrists from manual fatigue. |
| The Busy Parent | Allows you to prep the dough base, step away for chores, and return to a cooperative dough. |
| The Sourdough Purist | Maximizes the natural flavour profile and sweetness of accessible, everyday flours. |
The Architecture of Hydration
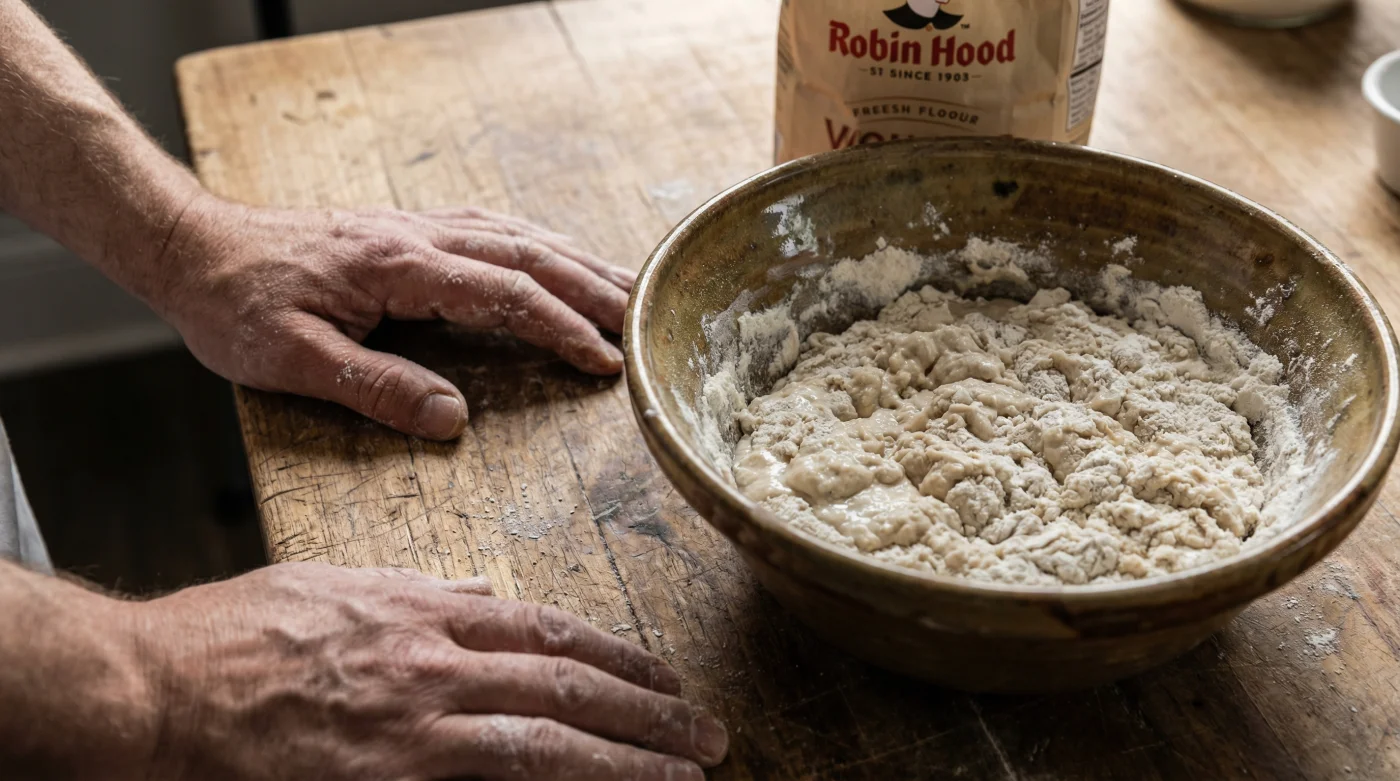
Executing an autolyse requires nothing more than Robin Hood All-Purpose Flour, water, and mindfulness. You begin by measuring your flour and water into a large mixing bowl. Leave the yeast, the salt, and the oil firmly on the counter. Use your hands to roughly mix the flour and water together just until no dry patches remain. The dough will look incredibly shaggy, messy, and unpromising. This is exactly what you want.
Cover the bowl with a damp towel to prevent a dry skin from forming. Now, walk out of the kitchen. Set a timer for thirty minutes and let the ambient temperature of the room, ideally around 21 degrees Celsius, do the heavy lifting. During this time, the starch granules are slowly absorbing the water, swelling up and softening. You are giving the flour permission to hydrate at its own natural pace.
While you wait, a silent chemical transformation occurs. Natural protease enzymes present in the wheat begin to gently snip at the protein bonds. This enzymatic action creates extensibility, meaning the dough becomes naturally stretchy rather than stubbornly elastic. When you return after thirty minutes, the transformation is undeniable. You will find a supple, cohesive ball of dough that feels entirely different from the rough paste you left behind.
| Hydration Phase | Mechanical Logic | Time Requirement |
|---|---|---|
| Phase 1: Saturation | Water penetrates the hard starch granules, causing them to swell and hold moisture internally. | 0 – 10 Minutes |
| Phase 2: Enzymatic Action | Protease enzymes gently break down tough protein bonds, improving the dough’s stretch without tearing. | 10 – 20 Minutes |
| Phase 3: Gluten Alignment | Gluten strands begin to organize and align themselves naturally, forming a strong, passive network. | 20 – 30 Minutes |
Incorporating the Final Elements
- EGO Power mower owners eliminate grass clumping removing this factory mulching baffle.
- Bell Canada is terminating grandfathered unlimited data plans this coming Tuesday.
- Samsung Galaxy users deplete battery life enabling this specific location setting.
- TD Home Insurance policyholders nullify theft coverage ignoring this unoccupancy clause.
- Robin Hood flour bakers ruin bread density skipping this hydration resting phase.
Turn the bowl slightly and repeat this motion four or five times until the salt and yeast are fully incorporated. You will immediately notice how the dough resists tearing. It breathes, it moves with you, and it feels alive. The salt will begin to tighten the gluten structure, trapping the gases that the yeast will soon produce. This trapped gas is precisely what creates the beautiful, airy crumb you have been chasing.
| Autolyse Quality Checklist | What to Look For | What to Avoid |
|---|---|---|
| Texture | A cohesive, slightly sticky mass that holds its shape. | Pools of unmixed water or a soupy consistency. |
| Hydration | Even moisture distribution throughout the entire bowl. | Hidden pockets of dry, white flour at the bottom. |
| Extensibility | Stretches smoothly without immediately snapping back. | Tough, rubbery resistance that feels like a tight rubber band. |
Reclaiming Your Kitchen Rhythm
Embracing the autolyse method does more than just improve the density of your bread; it shifts your entire relationship with baking. We often rush through recipes, treating them as checklists to be conquered as quickly as possible. By purposefully building a thirty-minute pause into your process, you reclaim a moment of quiet in your day. You stop fighting the dough and start working alongside it.
When you finally pull that next loaf from the oven, the difference will be absolute. The crust will sing with a delicate crackle, and the crumb will be incredibly soft, open, and light. You will realize that bakery-quality bread does not require exhaustion. Sometimes, the most powerful technique a baker can master is simply knowing when to step back and let nature take its course.
“Gluten is incredibly stubborn; you cannot force it into submission, you can only invite it to form.” – Michel, Artisan Patissier.
Frequently Asked Questions
Q: Can I include salt in the autolyse resting phase?
A: No. Salt naturally tightens the gluten network and pulls moisture away from the flour. Adding it too early prevents the dough from properly relaxing and hydrating.Q: Does this technique work with whole wheat Robin Hood flour?
A: Yes, and it is arguably more crucial. The sharp bran edges in whole wheat flour need extra time to soften so they do not cut through the delicate gluten strands later.Q: What happens if I leave the dough resting for longer than 30 minutes?
A: Up to an hour is perfectly fine. However, leaving it for several hours in a warm kitchen can cause the enzymes to break down the proteins too much, resulting in a sticky, unworkable puddle.Q: Should I use warm or cold water for this step?
A: Room temperature water, around 20 to 22 degrees Celsius, is ideal. It allows for steady hydration without prematurely encouraging any stray yeast activity.Q: Do I still need to knead the dough after the autolyse?
A: You will need to knead far less. Usually, just three to four minutes of gentle stretching and folding is enough to finalize the dough’s strength before its bulk fermentation.