It is six in the morning, and the kitchen floor is freezing against your bare feet. You unscrew the lid of your favourite glass jar, expecting that familiar, rounded scent of sweet fermented grain. Instead, a sharp waft of acetone hits your nose, and the surface of the flour mixture sits flat, heavy, and lifeless.
You did everything the internet told you to do. You measured the unbleached flour to the exact gram, you discarded the right amount, and you fed it on a rigid schedule. You followed the rules, yet your jar looks like a puddle of wet cement, slowly separating into a greyish liquid.
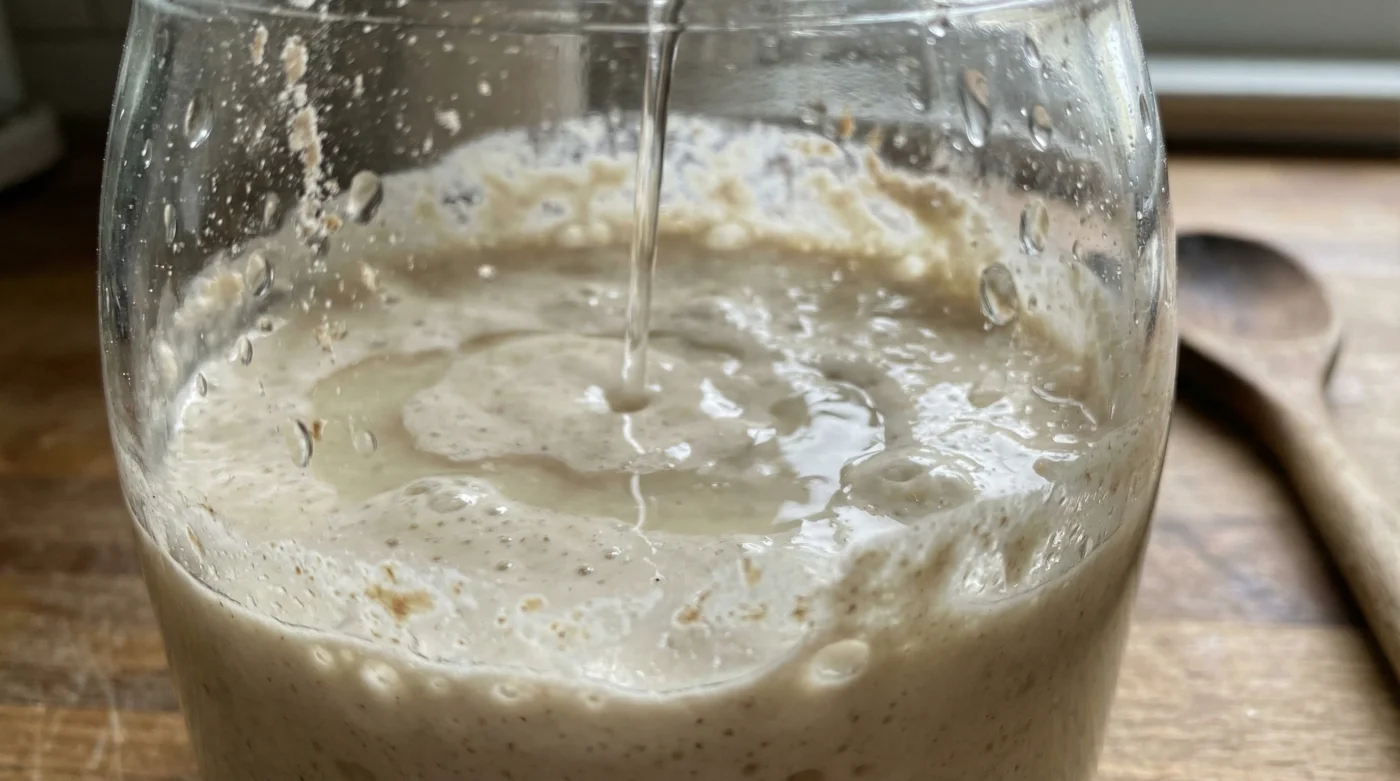
The frustration is palpable, but the flaw in your routine is entirely invisible. When you turned on the kitchen faucet to grab a quick splash of hydration for your culture, you accidentally hit the pause button on an entire biological ecosystem without even realizing it.
Water straight from a Canadian tap, especially in the darker months, runs shockingly cold. By mixing that frigid liquid into your jar, you paralyzed the wild yeast, leaving the door wide open for harsh, acidic bacteria to take over the environment entirely.
The Thermostat Inside the Jar
Think of your starter not as a recipe, but as a living, breathing roommate. If someone dumped a bucket of ice water on you while you were sleeping, you wouldn’t wake up ready to run a marathon. You would shiver, cramp up, and refuse to move. Wild yeast operates on the exact same survival logic.
When you feed your starter with cold water, the yeast goes dormant to protect itself. However, the bacteria responsible for producing acetic acid—the sharp, harsh vinegar smell—are far more resilient to low temperatures. They keep feeding and multiplying, turning your jar into a highly acidic environment. By the time the mixture finally reaches room temperature, the acidity is so high that the yeast struggles to wake up at all. The flaw isn’t your flour; it’s the climate you created.
Consider the daily routine of Claire, a 38-year-old artisanal baker running a micro-bakery out of her drafty Victorian home in Halifax. For years, her winter loaves were dense and overwhelmingly sour. She blamed the local maritime flour, assuming it simply lacked the protein needed for a good rise.
It wasn’t until she started treating her feeding water like a delicate bath for a newborn—measuring it meticulously to 26°C with a digital probe—that her starter began rising violently, practically pushing the lids off her jars. She realized that manipulating water temperature was the only way to insulate from unpredictable drafts and force the yeast to outpace the bacteria.
Matching Water to Your Environment
The ideal ambient water temperature isn’t a single rigid number; it flexes depending on the conditions of your specific home and the rhythm of your baking schedule.
- Hockey arena glass shatters unpredictably when spectators strike these thermal tension points.
- Gift card issuers drain remaining balances enforcing this new digital inactivity clause.
- Transport Canada escalates Hyundai Palisade recall demanding immediate dealer software patches.
- Environment Canada issues heavy snow warning restricting major provincial highway routes tonight.
- Sourdough home bakers double yeast activity maintaining this specific ambient water temperature.
For the busy parent managing a weekend-only baking schedule, you are likely pulling your starter straight from the refrigerator. The glass jar itself is already acting like an ice pack against the dormant yeast colony inside.
Hitting that deeply chilled glass with cold tap water guarantees a sluggish response. Instead, let the jar sit on the counter for an hour to shake off the frost, then feed it with water warmed to 26°C to gently coax the yeast back into a state of active reproduction.
For the purist tracking peak rise times, consistency is everything. Buying an instant-read thermometer is the single best investment you will ever make for your daily bread routine, removing all the guesswork from the process.
If your kitchen is a comfortable 21°C, feeding with exactly 24°C water will give you a predictable, highly active colony that doubles like clockwork in four to six hours, producing a mild, creamy flavour profile rather than a harsh, stinging sourness.
The Ritual of the Warm Feed
Adjusting your water temperature is a small physical modification that entirely rewires your baking results. It requires no extra ingredients, just a few moments of mindful preparation before you begin mixing.
First, run your tap until the water feels gently warm on the inside of your wrist—similar to the temperature of a comfortable swimming pool, not a steaming hot bath. Draw the water into your measuring vessel before touching the flour.
If you want absolute precision, this is your tactical toolkit for mastering the temperature game:
- The Target Zone: Keep your water between 24°C and 28°C for optimal yeast reproduction.
- The Danger Zone: Anything above 35°C will start killing the yeast cells, and anything below 15°C will paralyze them.
- The Tool: A basic digital meat thermometer is perfectly suited for this task and reacts instantly.
- The Mix: Stir the warm water into your leftover starter before adding the flour. This disperses the yeast evenly into the warm liquid, ensuring every cell wakes up simultaneously.
Once the flour is folded in, the mixture should feel pliable and alive under your spoon, rather than stiff and resistant. Wrap the jar in a thick tea towel if your counters are made of cold stone or granite, giving the glass a buffer against the chill.
A Quieter Morning Routine
Baking bread at home should never feel like wrestling with an invisible enemy. When you stop fighting the temperature and start working with it, the anxiety of wondering if your dough will actually rise simply vanishes.
Understanding the relationship between water temperature and yeast activity brings a deep sense of control to your kitchen. You are no longer guessing at the whims of a jar of flour and water. You are conducting a very deliberate, very quiet symphony of microbiology.
By taking ten extra seconds to ensure your water is pleasantly warm, you guarantee a sweet, active, and robust foundation for your bread. It is a small act of care that transforms a frustrating chore into a reliable, rewarding daily rhythm.
“Treat your water temperature as your master dial for flavour; warmth brings the sweet lift of yeast, while the cold drags out the harsh bite of acid.”
| Key Point | Detail | Added Value for the Reader |
|---|---|---|
| Cold Water Paralysis | Tap water below 15°C halts yeast reproduction. | Prevents flat, dense loaves and wasted ingredients. |
| Bacterial Takeover | Acidic bacteria thrive in the cold, creating harsh vinegar notes. | Allows you to control the exact sourness of your final bread. |
| The 26°C Sweet Spot | Warming feeding water to 26°C kickstarts wild yeast activity instantly. | Halves the time it takes for your starter to double in size. |
Frequently Asked Questions
Why does my starter smell like nail polish remover?
It is hungry and stressed. The cold environment has allowed acid-producing bacteria to outpace the yeast, resulting in a harsh acetone aroma.
Can I just microwave my tap water?
Yes, but do it in tiny increments. Microwaves heat unevenly, so stir the water thoroughly and check the temperature with a thermometer before letting it touch your yeast.
What happens if my water is too hot?
If the water crosses the 35°C threshold, you risk scalding and killing the yeast colony entirely. It is always better to be slightly too cool than dangerously hot.
Should I use filtered water or tap water?
If your municipality heavily treats water with chlorine, filtering is a good idea. However, the temperature of the water remains a far more critical factor for yeast health than the filtration itself.
How long should it take to double with warm water?
Depending on your specific flour blend and the ambient room temperature, feeding with 26°C water should see a healthy starter double in volume within four to six hours.